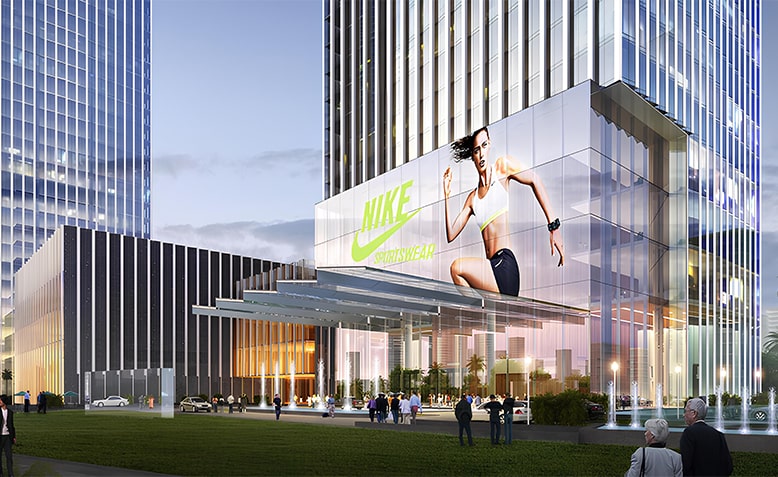
A transparent LED display is a precision digital asset rather than a passive glass panel. Its open frame architecture, while delivering high transparency and dynamic visual impact, exposes fragile LED micro beads, thin PCB strips, and sensitive driver ICs to dust accumulation, ambient moisture, and thermal stress.
Without a structured maintenance protocol, optical clarity degrades, dead pixels multiply, and repair costs escalate rapidly. This guide provides a practical, step by step maintenance framework to protect your electronic investment and maximize operational lifespan.
Having established the operational context, let us examine the structural differences that dictate how these systems are serviced. Conventional LED displays rely on fully enclosed heavy duty cabinets that protect internal electronics from physical contact and environmental exposure.
In contrast, transparent video walls feature an open architectural grid, yielding transparency rates between 60% and 95%. With a minimal profile featuring a PCB board thickness of just 10mm and an overall weight around 12kg per square meter, these systems house narrow light bars with exposed electronic components.
The slim design eliminates bulky protective housings, which drastically reduces the physical tolerance for improper handling, cleaning pressure, or thermal buildup.
Servicing methods depend on the specific structural framework of your installation:
Front Maintenance: Designed for store windows and tight indoor spaces where back access is physically restricted. Technicians use magnetic tools to remove individual modules directly from the front.
Rear Maintenance: Ideal for large glass curtain walls and hanging stage setups with dedicated service corridors. Technicians access power boxes and receiving cards from behind without touching the front display surface.
Both configurations utilize an all in one modular framework consisting of three core replaceable components: LED modules, power supplies, and receiving cards. This ensures single component replacements without dismantling the entire screen structure.
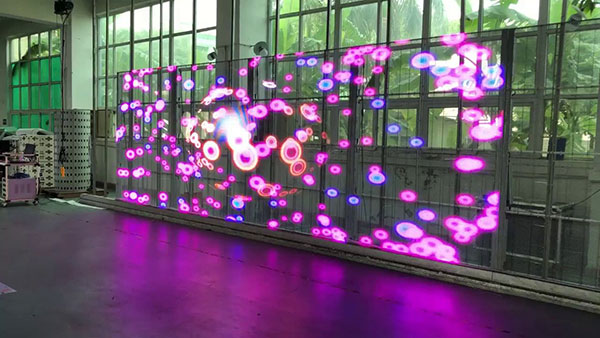
The visual performance of a transparent screen relies on minimal structural footprints, which introduces specific hardware vulnerabilities:
Side Lit vs Front Lit Configurations: Side mounted LEDs achieve up to 85% transparency and high brightness up to 6500 nits, yet leave diodes exposed to lateral impact. Front lit designs offer robust frame support for distant viewing but feature less physical shielding than traditional tiles.
Micro Solder Joints and Substrates: Premium configurations like the Holographic LED Screen HG Series with 90% to 95% transparency use thin substrate layers. Excessive physical force or PCB flexing easily snaps micro solder joints, leading to dead pixel lines.
With the underlying hardware vulnerabilities clearly identified, implementing a structured daily care routine becomes the first line of defense against premature panel failure. Dust accumulation, surface grease, and improper thermal management quietly degrade optical clarity while accelerating electronic wear.
Regular physical inspections and controlled cleaning routines prevent minor environmental factors from turning into costly system outages.
Using unapproved cleaning agents permanently ruins optical clarity. Maintenance teams should strictly utilize:
Approved Cleaning Solvents: Pure isopropyl alcohol or distilled water mixed with neutral optical lens cleaner.
Safe Cleaning Tools: Antistatic ultra fine microfiber cloths, soft feather dusters, and ESD safe soft brushes.
Personal Protective Gear: Antistatic wrist straps, lint free cotton gloves, and soft rubber soled shoes.
Completely disconnect the main power source to prevent static discharge or short circuits.
Gently sweep loose dust from top to bottom using an antistatic feather duster along the direction of the light bar (PCB strip) channels.
Lightly dampen a microfiber cloth with isopropyl alcohol and glide it parallel to the light bars without pushing against the side edges of the LEDs.
Verify that quick snap module latches and data cables are securely seated without mechanical strain.
Storefront displays operate in demanding microclimates that require continuous environmental oversight:
Thermal Control: Ensure indoor HVAC systems keep ambient operating temperatures below 40 degrees Celsius to prevent thermal throttling.
Moisture Management: Maintain relative humidity levels between 10% and 90%, and never power on displays with visible glass condensation.
UV Exposure Control: Displays engineered with tight color binning, such as those produced by Vision Pro Electronic, exhibit significantly slower brightness decay under direct sunlight, reducing the frequency of recalibration.
Beyond routine daily care, technical faults occasionally occur, requiring a systematic troubleshooting approach to isolate failures efficiently.
| Issue Category | Primary Symptom | Root Cause | Corrective Action |
| Signal Failure | Single dark light bar | Loose data ribbon or bad IC chip | Reseat ribbon cable or replace individual light bar (PCB strip) |
| Power Instability | Flashing panel or color shift | Voltage drop over 5% | Adjust power supply output or swap integrated power module |
| Thermal Failure | Regional cabinet shutdown | Blocked frame ventilation | Clear dust from heat sinks and check ambient fans |
| Pixel Defect | Isolated dead pixels | Cold solder joint or impact damage | Perform single module SMT repair or swap light bar |
Black Patches or Unlit Areas: Replace the faulty LED module.
Unlit Row or Column: A dead line indicates a localized module fault; replace the corresponding LED module.
Color Distortion or Uneven Brightness: Replace the affected LED module to restore uniform performance.
Screen Flickering or Random Rebooting: Indicates an unstable power supply; check DC output voltage or replace the power supply unit directly.
Screen Completely Dark: Signals a receiver card failure; replace the receiver card.
Display Glitches or Scrambled Images: First inspect all power and signal cable connections; if connection integrity is confirmed and the issue persists, replace the receiver card.
Replacing a faulty light bar is straightforward due to the simplified construction of modern modular frames:
Turn off the main circuit breaker connected to the display system.
Disengage the magnetic front latch or remove retention screws on the affected module frame.
Unplug the low voltage power cable and data ribbon from the PCB strip.
Extract the damaged bar straight outward without hitting neighboring LEDs.
Align the new light bar, reconnect all wiring, lock the frame, and run a diagnostic color check.
Now that we have reviewed structured troubleshooting methods, avoiding common operational errors is equally vital for protecting display longevity.
Ammonia, acetone, and standard glass cleaners strip away protective anti glare coatings. These chemicals leave an optical haze on clear substrates while corroding bare copper traces along the PCB.
Wiping down an active screen exposes driver ICs to static electricity discharge. Furthermore, stray liquid entering energized connectors creates immediate electrical short circuits across adjacent pixel tracks.
Silicone seals on architectural glass installations degrade over time due to building vibration and temperature changes. Ignoring worn seals lets moisture enter lower cabinet assemblies, causing widespread electrical corrosion.
Restoring power after long idle periods without checking grid stability sends voltage surges through control cards. Always test line voltage stability with an industrial surge protector before turning on large video walls.
Holding compressed air cans too close to high density pixel layouts delivers thermal shock and force strong enough to break tiny wire bonds inside small pixel pitch modules.
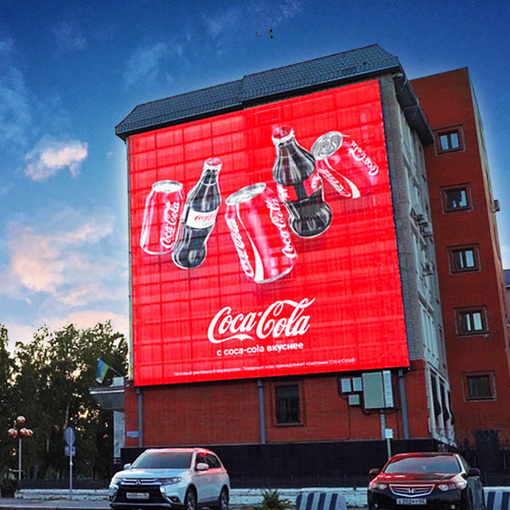
Having covered critical handling mistakes, structured preventive care directly dictates overall return on investment and hardware service life.
Daily Check: Perform a quick visual inspection for dead pixels, dark light bars, and playback alignment errors.
Monthly Inspection: Clean dust accumulation on structural frames and verify unobstructed airflow around power enclosures.
Quarterly Audit: Inspect electrical distribution boxes, tighten screw terminal connections, and review system controller logs.
Annual Service: Perform a complete audit of frame mounting hardware tension, test power supply output under full load, and replace aged interconnecting cables.
To maintain warranty integrity and ensure safety, task assignments should follow strict technical qualifications:
In House Facility Staff: Daily visual checks and routine surface dusting using ESD safe equipment for high traffic Retail storefronts.
Certified Field Engineers: Quarterly electrical terminal audits, annual load testing, and SMT level light bar replacement across large scale Billboard and Signage networks.
A disciplined maintenance program converts digital signage into a dependable commercial asset. Sourcing displays manufactured with Tier 1 components, cleanroom SMT processes, and automated assembly ensures tight color uniformity and slow brightness decay. Protecting operating thermal levels helps high quality LEDs reach their 100 000 hour rated lifespan, preserving brand impact while keeping long term operating costs predictable.
The overall cost is primarily determined by pixel pitch density, transparency percentage requirements, and LED encapsulation quality, such as Tier 1 Nationstar components. Specialized structural customizations, high brightness ratings for outdoor direct sunlight, and complex architectural mounting setups also influence total project investment. For accurate pricing based on your specific structural and environmental requirements, contact the Vision Pro Electronic engineering team directly.
A frequent mistake is selecting standard indoor brightness levels for displays positioned directly behind exterior glass windows. Without high brightness capabilities up to 6500 nits, ambient daylight causes severe reflection, making displayed content washed out and unreadable from the street.
When operated within recommended thermal parameters and serviced according to a strict preventive schedule, a premium quality screen offers a functional operating lifespan of up to 100 000 hours before reaching half of its original brightness output.
Standard modular panels are usually assembled and aged within 2 to 3 weeks, while complex architectural projects involving customized frame geometry or specialized curved glass integrations require 4 to 6 weeks for precision manufacturing, SMT production, and burn in testing.
A transparent LED display offers a powerful architectural solution for businesses looking to deliver high impact visual content without losing natural light or architectural transparency. By establishing clear cleaning protocols, adhering to structured preventive maintenance schedules, and avoiding handling errors, you safeguard your hardware investment and maintain visual performance over time.
Need replacement light bars, technical consultation, or a customized preventive maintenance contract for your installation? The service team at Vision Pro Electronic provides genuine spare parts, remote diagnostic support, and on-site maintenance training. Contact our engineering team today with your display specifications to receive a service plan tailored to your operating environment.



 Tel: +86-134 2792 1400
 Email: led@visionledpro.com

Address: Second Industrial Park,No. 28, Xintang Road, Fuhai Street, Baoan District, Shenzhen,CHINA
Copyright © 2020 Shenzhen Vision Pro Electronic Co., Ltd All rights reserved.

By continuing to use the site you agree to our privacy policy Terms and Conditions.